What is Argo CD and why should you use it for Kubernetes GitOps:
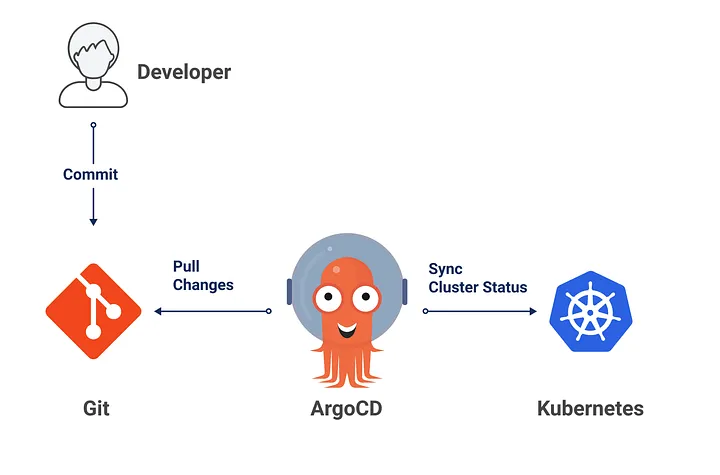
Argo CD is a powerful and easy-to-use tool that facilitates the implementation of a GitOps workflow for your Kubernetes applications. GitOps is a paradigm that uses Git as the single source of truth for your infrastructure and application configuration. With GitOps, you can declaratively define the desired state of your Kubernetes cluster in a Git repository. Use a GitOps controller, such as Argo CD, to automatically sync and apply the changes from the repository to the cluster.
Due to various advantages, Agro CD is the most popular continuous deployment tool for Kubernetes. Some of these advantages are:
- It supports various types of Kubernetes manifests, such as YAML files, Helm charts, Kustomize applications, or Jsonnet files.
- With Agro CD, you can effortlessly manage and monitor your application on Kubernetes by using a web UI and a CLI.
- It integrates with popular Git platforms, such as GitHub, GitLab, or Bitbucket, and supports webhook notifications for triggering syncs.
- It has an App of Apps pattern that enables you to bootstrap and manage multiple Argo CD applications from a single Git repository. This way, you can avoid creating each application manually and leverage the features of Git, such as version control, branching, merging, and pull requests, to manage your applications.
In this article, you will learn how to use Argo CD to create and deploy a simple Kubernetes application using a GitOps workflow. You will also learn how to use the App of Apps pattern to create and manage multiple Argo CD applications from a single Git repository. By the end of this article, you will better understand the benefits and best practices of GitOps with Argo CD.
Requirements:
- A Kubernetes cluster. This article is based on kind, but any K8s cluster will do; Minikube, EKS, AKS, etc.
- A Git repository with a dedicated folder that contains Kubernetes manifest files. Argo CD looks at Kubernetes manifest files to maintain the desired state.
Steps to follow:
1. Creating Local Kubernetes Cluster:
kind is a tool for running local Kubernetes clusters using Docker container “nodes”. To initiate a kind cluster first we need docker installed. You can follow this link if you don’t have a running docker.
Install kind binary:
On Linux:
curl -Lo ./kind https://kind.sigs.k8s.io/dl/v0.11.1/kind-linux-amd64
chmod +x ./kind
mv ./kind /some-dir-in-your-PATH/kind brew install kind
On Mac (homebrew):
brew install kindOn Windows:
curl.exe -Lo kind-windows-amd64.exe https://kind.sigs.k8s.io/dl/v0.11.1/kind-windows-amd64
Move-Item .\kind-windows-amd64.exe c:\some-dir-in-your-PATH\kind.exe
Create a local Kubernetes Cluster:
$ kind create cluster --name kind
Creating cluster “kind” …
✓ Ensuring node image (kindest/node:v1.21.1) 🖼
✓ Preparing nodes 📦
✓ Writing configuration 📜
✓ Starting control-plane 🕹️
✓ Installing CNI 🔌
✓ Installing StorageClass 💾
Set kubectl context to “kind-my-cluster”
You can now use your cluster with:
kubectl cluster-info — context kind
Thanks for using kind! 😊
Check the cluster is running and healthy.
$ kubectl cluster-info — context kind
Kubernetes control plane is running at https://127.0.0.1:57338
CoreDNS is running at https://127.0.0.1:57338/api/v1/namespaces/kube-system/services/kube-dns:dns/proxy
To further debug and diagnose cluster problems, use 'kubectl cluster-info dump'.
2. Install Argo In Your Cluster:
Next, install Argo in your Kubernetes cluster. This will deploy a bunch of Kubernetes resources inside argocd namespace.
Create this namespace if it’s not created.
kubectl apply -n argocd -f https://raw.githubusercontent.com/argoproj/argo-cd/stable/manifests/install.yaml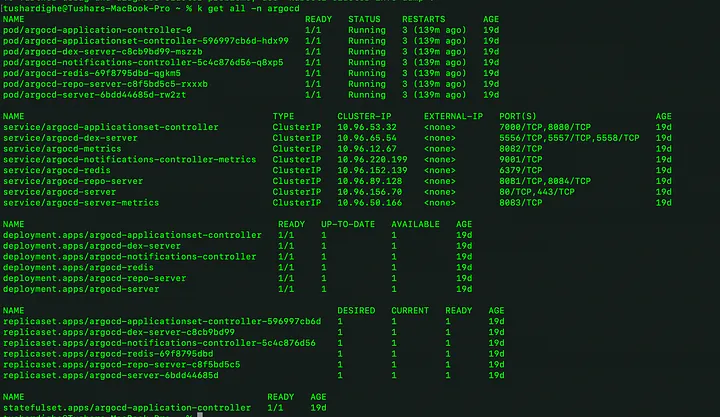
3. Install Argo In Your Cluster:
The Argo CD UI is served by argocd-server service. By default, argocd-server is of type ClusterIP.
tushardighe@Tushars-MacBook-Pro ~ % k get svc -n argocd
NAME                                      TYPE        CLUSTER-IP      EXTERNAL-IP   PORT(S)                      AGE
argocd-applicationset-controller          ClusterIP   10.96.53.32     <none>        7000/TCP,8080/TCP            19d
argocd-dex-server                         ClusterIP   10.96.65.54     <none>        5556/TCP,5557/TCP,5558/TCP   19d
argocd-metrics                            ClusterIP   10.96.12.67     <none>        8082/TCP                     19d
argocd-notifications-controller-metrics   ClusterIP   10.96.220.199   <none>        9001/TCP                     19d
argocd-redis                              ClusterIP   10.96.152.139   <none>        6379/TCP                     19d
argocd-repo-server                        ClusterIP   10.96.89.128    <none>        8081/TCP,8084/TCP            19d
argocd-server                             ClusterIP   10.96.156.70    <none>        80/TCP,443/TCP               19d
argocd-server-metrics                     ClusterIP   10.96.50.166    <none>        8083/TCP                     19d
You have multiple options to access the UI. The easiest way to access the UI on macOS is by forwarding the Argo CD server HTTPS port 443 to a different port.
tushardighe@Tushars-MacBook-Pro ~ % kubectl port-forward -n argocd service/argocd-server 8080:443
Forwarding from 127.0.0.1:8080 -> 8080
Forwarding from [::1]:8080 -> 8080
Handling connection for 8080
Handling connection for 8080
As you can see above, I port-forwarded the service to 8080.
Of course, you can edit the service & change it to NodePort or you can also access the UI via Ingress.
4. Get the password required for accessing the dashboard login:
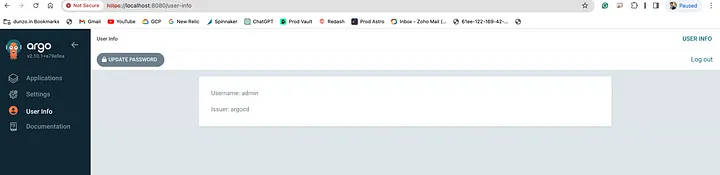
kubectl -n argocd get secret argocd-initial-admin-secret -o jsonpath="{.data.password}" | base64 -d && echoOnce you’re in, head straight to the User Info item in the left sidebar, then click the “Update Password” button at the top of the screen. Follow the prompts to change your password to something unique.
5. Login to the ArgoCD dashboard:
Navigate to https://localhost:8080/ if you forwarded the port to 8080 or if you specified any other port/NodePort then use that one.
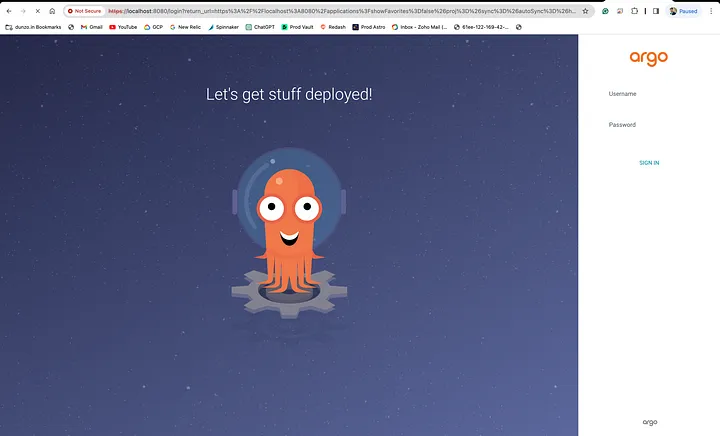
The default username is admin. Login using the password you obtained in the last step.
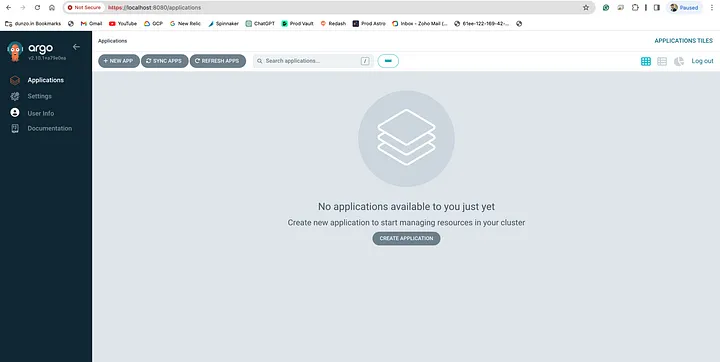
6. Create a new Application in Argo CD:
Click the CREATE APPLICATION button.
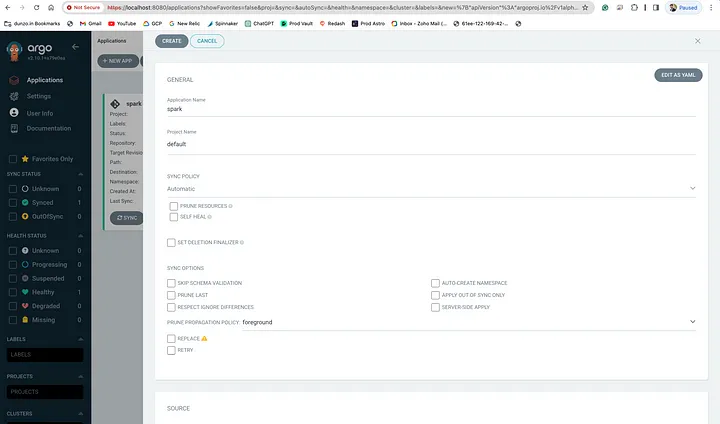
Fill out the details. Remember that the Application Name should be valid and conform to Kubernetes nomenclature. It means the name should not contain any capital letters or spaces.
Leave Project Name to default & also leave other settings as it is.
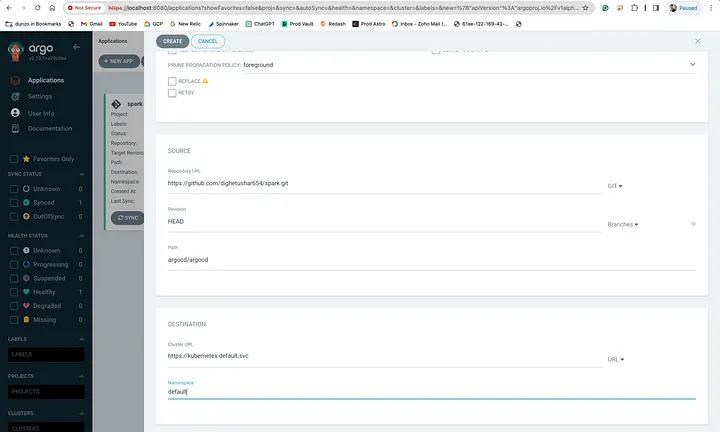
Under SOURCE, enter the Git repo. The Path is important. This path is the folder inside your Git repo where Kubernetes manifest files are present.
To follow this tutorial, please use my GitHub repo https://github.com/dighetushar654/spark.git It has a folder called argocd where I have put my Kubernetes deployment & service manifest files.
Under DESTINATION, use https://kubernetes.default.svc as the Cluster URL. Under Namespace, type in the name of any namespace where you want Argo CD to deploy your application.
Once the details have been filled in, press the CREATE button.
After creating the application, it should be visible as a tile. Below is what a tile looks like.
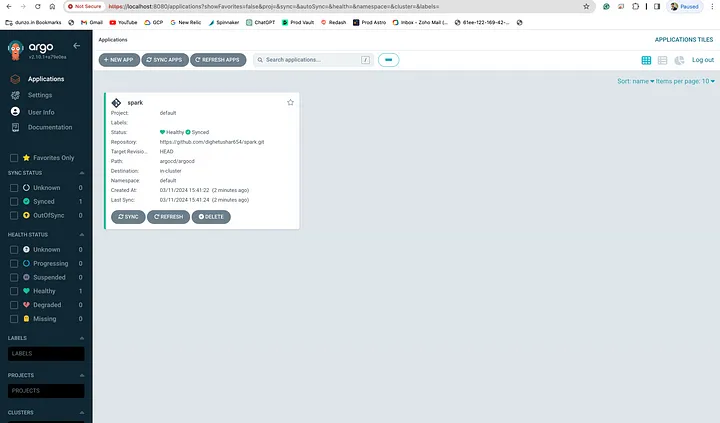
You can see that Argo CD has deployed the application.

In my Spark application, I’ve implemented a simple HelloWorld Scala application. So, to verify whether the application is running or not, we can check the logs of the application pod.
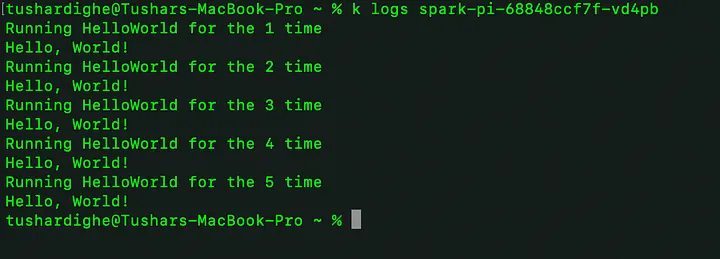
The application is running successfully.
7. Update the application & deploy automatically via Argo CD:
Now, let’s update our app. Here’s what I did:
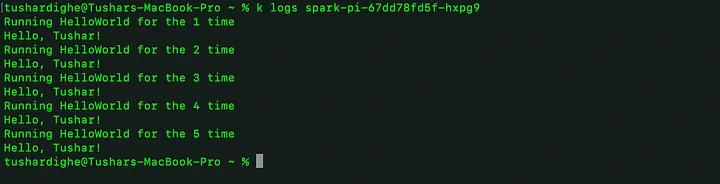
- Edited the HelloWorldSpark.scala file in my application to change the message on the logs.
- Utilized a GitHub workflow to build the new Docker image and pushed it to the Docker Registry.
- Modified the argocd/deployment.yml file, changing the Docker image tag to reflect the latest version.
We have enabled Autosync, and Argo CD ensures that the application’s intended state is aligned with the actual state on the Kubernetes cluster. If we make any changes to the files that describe our application, Argocd will automatically put those changes into action on our Kubernetes cluster.

You can see that the latest version of the application has been deployed without any issues, and the application’s logs confirm this.
That’s fantastic! We’ve successfully installed Argo CD on our Kubernetes cluster and set it up to deploy applications automatically.
Hey people!!!!!
Good mood and good luck to everyone!!!!!